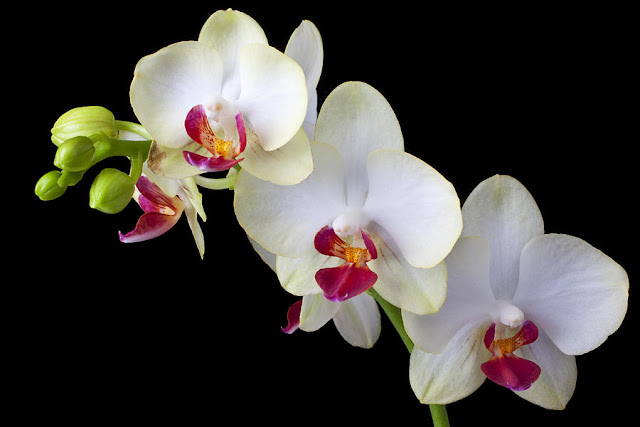
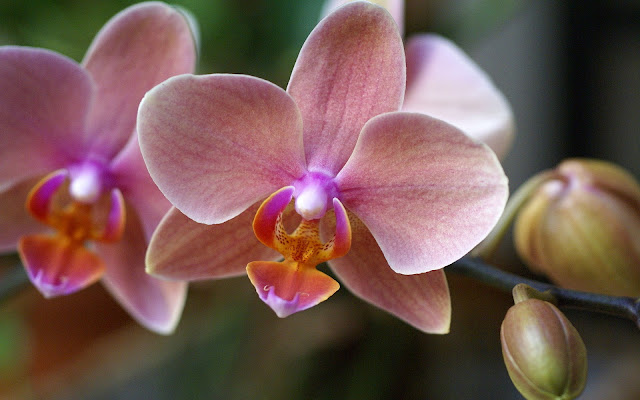
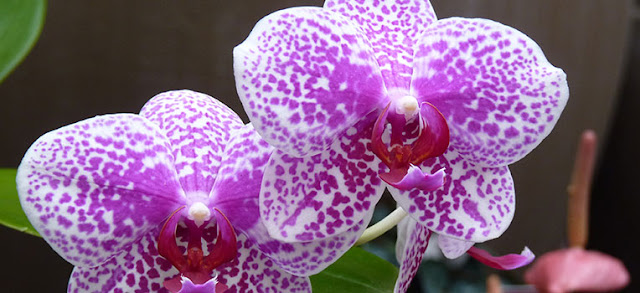
How to Care for Phalaenopsis Amabilis Orchids (Moth Orchids) / Anggrek Bulan 03/11/2018
How To Care Phalaenopsis Amabilis Orchids (Moth Orchids) / Anggrek Bulan 03/11/2018
Hey Hai Hello Folks, thanks a lot for following my simple blog, this time i want to share how to care Phalaenopsis Amabilis Orchids (Moth Orchids) / Anggrek Bulan (Bahasa), i hope my some explanation how to care will be helpful some people that curious to plant they own beautiful ochids, here it's :
Cultivation
Let's we start with cultivation, P. Amabilis is reported to be very easy to grow as a houseplant, as long as attention is paid to a correct feeding and watering regim. It thrives in a dosmetic temperature range of 17-22 °C (63-72 °F), in bright indirect light such as that offered by an east-or west-facing window. Specialist orchids compost and feed is widely available. Species and cultivars in the genus Phalaenopsis are recommended for beginners.
In Cultivation in the UK, Phalaenopsis Amabilis has gained the Royal Holticultural Society's Award of Garden Merit.
Read also : Amazing Fact About Frangipani / Plumeria Alba / Pohon Kamboja 2/11/2018
Read also : Amazing Fact About Frangipani / Plumeria Alba / Pohon Kamboja 2/11/2018
Importance
Phalaenopsis Amabilis (Indonesian : Anggrek Bulan meaning "moon orchids") is one of three nasional flowers in Indonesia, the other two being the sambac jasmine and padma raksasa. Officially recognized as national "flower of charm" (Indonesian : Puspa Pesona) in Presidential Decree No. 4 in 1993. In China, the orchid stood for refinement, friendship, perfection, numerous progeny, all thing feminine, noble and elegant.
General Care
Watering :
- Often orchids come planted in containers filled with chipped bark for drainage which lead to confusion on how to best water the plants. An easy method is to place the plant in a sink or tub. Run warm water over the plant, bark and aerial roots in a series of 3 or 4 drenches over a 10 minute period allowing the water to be gradually absorbed. Allow the water to drain completely before placing it on a saucer and returning it to a sunny window.
- Aerial roots will turn from a dull silver or white to a pale green color when you have applied enough water. Under normal home temperatures waterings should not be needed more than once a week.
- Misting a orchid usually does not provide enough moisture under indoor home growing conditions. Pebble trays placed underneath pots can increase the general humidity around plants; however don't flood these trays or the roots will stay overly wet and may rot.
- Low humidity and too little water will result in wrinkled leaves. Phals do not have water storage pseudobulbs as many orchids do.
 |
| How to Care for Phalaenopsis Amabilis Orchids (Moth Orchids) / Anggrek Bulan 03/11/2018 |
Temperature and Light :
- Phalaenopsis orchids do well under normal room temperatures with indirect light from an east or west window. During the short days in the winter they can even be moved to direct light or placed in a south window. Orchids can be placed in an interior room or on an office desk if placed under a grow light.
- Plants receiving the proper amount of light will have light green leaves. Low light conditions produces leaves that are dark green and feel very stiff. Under very high light the leaves will develop a pink or reddish color along the margins and will appear yellow green or almost yellow.
 |
| How to Care for Phalaenopsis Amabilis Orchids (Moth Orchids) / Anggrek Bulan 03/11/2018 |
Staking :
- Prevent bending of the flower stalk by placing a rigid, thin stake made of bamboo, wood or metal beside the stem that need support. Push it into the growing media being careful not to damage leaves or roots. Secure the flower the stalk to the stake loosely with small plastic clips (small plastic hair clips) or plant ties.
Fertilizing :
- Phalaenopsis orchids benefit from light fertilization, however over feeding your plants will often result in lush growth at the expense of the flowers.
- As a general rule fertilize actively growing and flowering plants every third or fourth watering with a commercial orchid fertilizer according to label directions.
- Skip fertilaztion during the coler temperatures and lower light intensity of the winter months.
 |
| How to Care for Phalaenopsis Amabilis Orchids (Moth Orchids) / Anggrek Bulan 03/11/2018 |
Re-flowering :
- Light exposure is important for re-flowering. The most common cause for not flowering is low light levels.
- Move plants that are not re-flowering indoors either to a brighter window, or put them outdoors in a shady location during the summer months.
- Another tricks to get them to set buds is allowing your plants to experience cooler night temperatures in the fall before bringing them back indoors. Bring them indoors when evening temperatures dip into the fifties.
- Since phalaenopsis orchids have the tendency to form new flowering branches along their old flower spikes watch the old spike closely for signs of new buds after the flowers have faded and have fallen off. Or to promote re-flowering, prune yellowed or brown spikes back to about 1/2 inch above the second node or swelling along the spike above the foliage.
- Cut off any old yellowed leaves or old, dried, brown flower spikes at the base of the plant.
Repotting :
- Under common indoor growing conditions your orchid can last several years before repotting is needed.
- Clues for repotting include : when the plant has overgrown its pot or the bark has broken down so that it look like mulch, drains poorly and holds too much moisture.
- The best time to repot is when new growth has started and not necessarily after it has finished blooming.
- Select a commercial orchid bark mix and a container with excellent drainage. Gently knock the plant out of its old pot.
- Phalaenopsis orchids grow along the surface of flower pots sending a few roots into the bark growing medium. But if roots have attached to the pot or old bark medium then soak the plant for a long enough period that they can be gently pried off without damage or breakage. Cut off any dead, discolored, or damaged roots, and rinse away the old degraded bark from the plant.
- Simply suspend the plant over the larger new pot and gently fill in around the bottom roots with new bark until the plant sits on top. Water the newly re-potted plant to further settle the new bark around the roots.
I hope you like this article nicely, see you in next useful article i hope, thanks a lot for visiting this simple blog, have a nicest day folks :).


Comments
Post a Comment